Landscaping can completely transform the look of your outdoor spaces, but the costs of materials and professional services can add up quickly. For DIY enthusiasts looking to enhance their yards without breaking the bank, decorative concrete offers a budget-friendly and versatile solution. From stamped pathways to colorful patio finishes, decorative concrete adds style and functionality to landscaping projects while staying well within a DIY budget.
Here’s how you can incorporate decorative concrete into your landscaping to create eye-catching features that elevate your outdoor space.
Benefits of Decorative Concrete for DIY Landscaping
Decorative concrete is popular among DIYers because of its affordability, durability, and adaptability to various designs and styles.
Key advantages include:
Cost-Effectiveness: Concrete is significantly cheaper than materials like natural stone, wood, or brick, especially for larger areas.
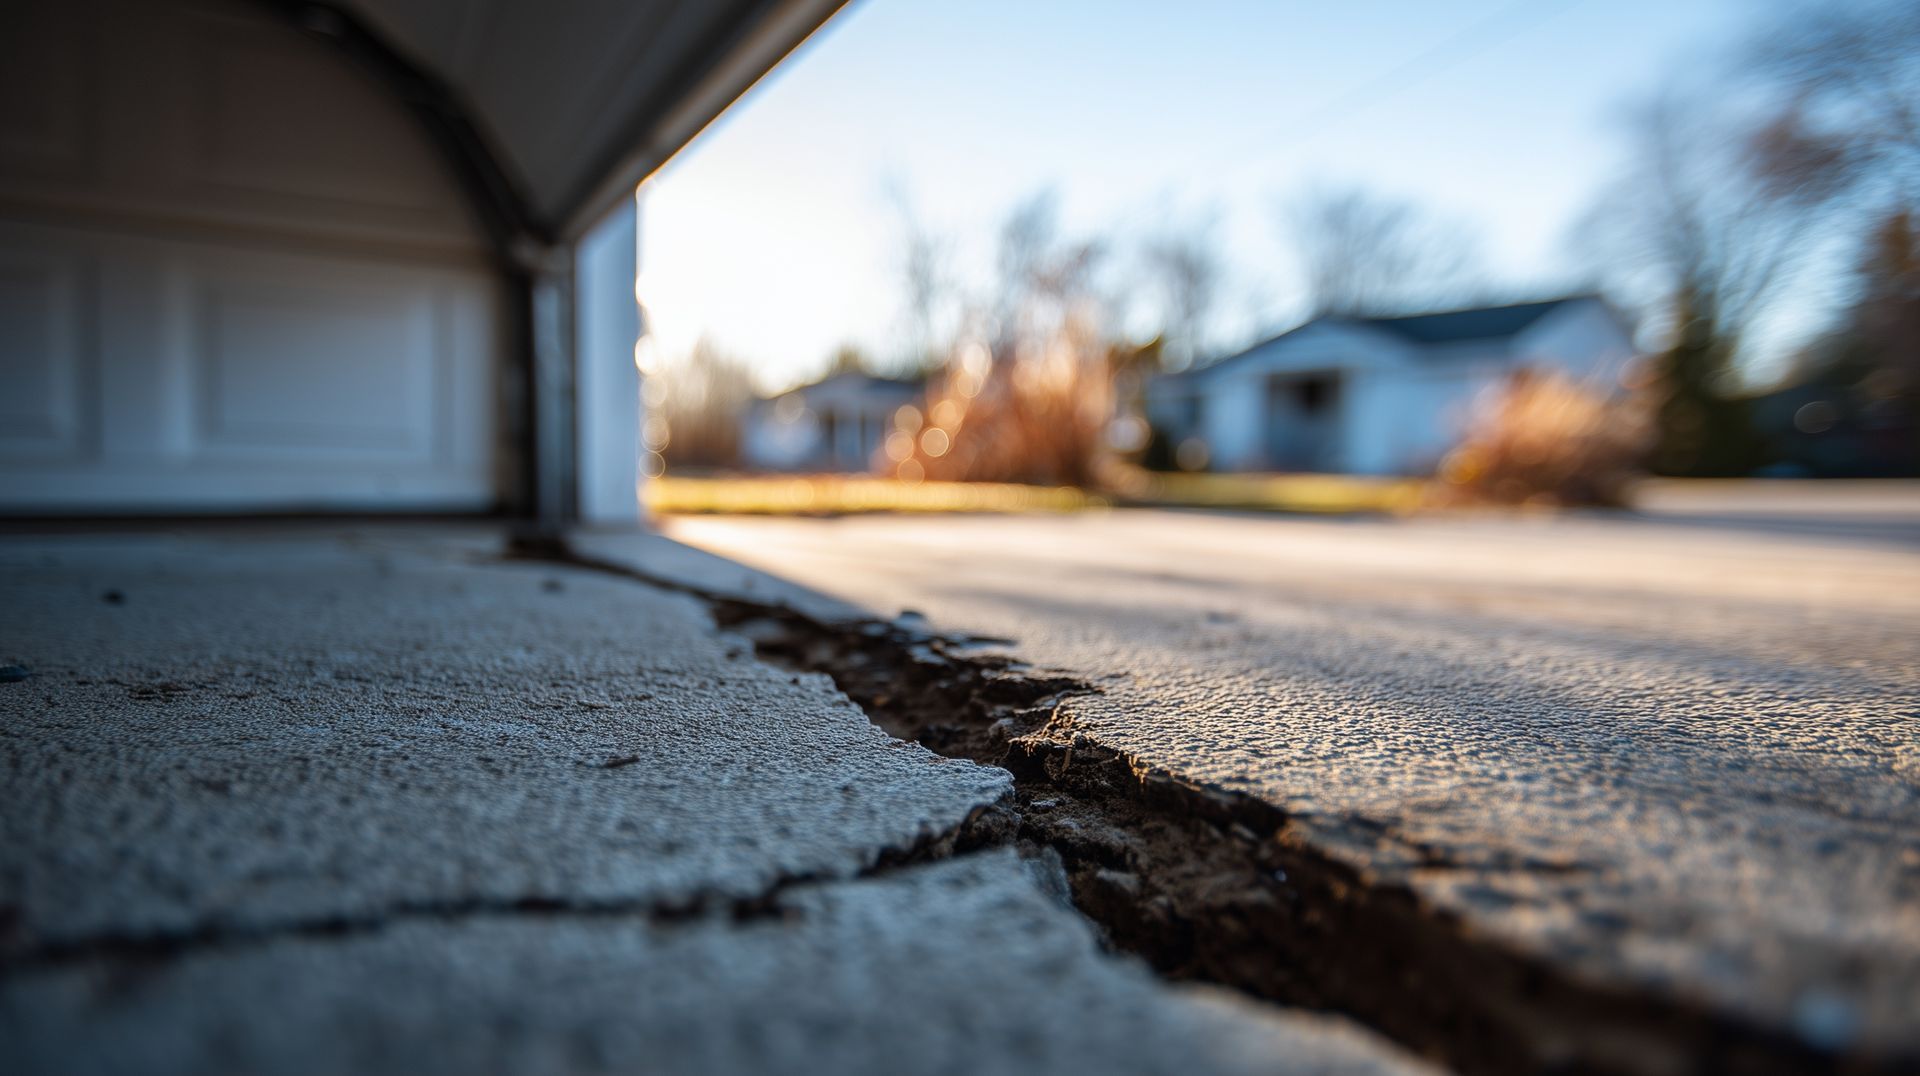
Durability: Concrete withstands the elements, including Denver’s freeze-thaw cycles, ensuring your landscaping lasts for years.
Customizability: With options like staining, stamping, and texturing, decorative concrete can mimic high-end materials or create one-of-a-kind designs.
Ease of Installation: With the right tools and preparation, many decorative concrete projects can be completed without professional help.
Whether you’re creating a new patio, walkway, or garden border, decorative concrete delivers style and practicality at a fraction of the cost of traditional materials.
Affordable Decorative Concrete Ideas
Decorative concrete can be used in a variety of ways to enhance your landscaping, no matter the size or scope of your project.
Here are some budget-friendly ideas to inspire your DIY project:
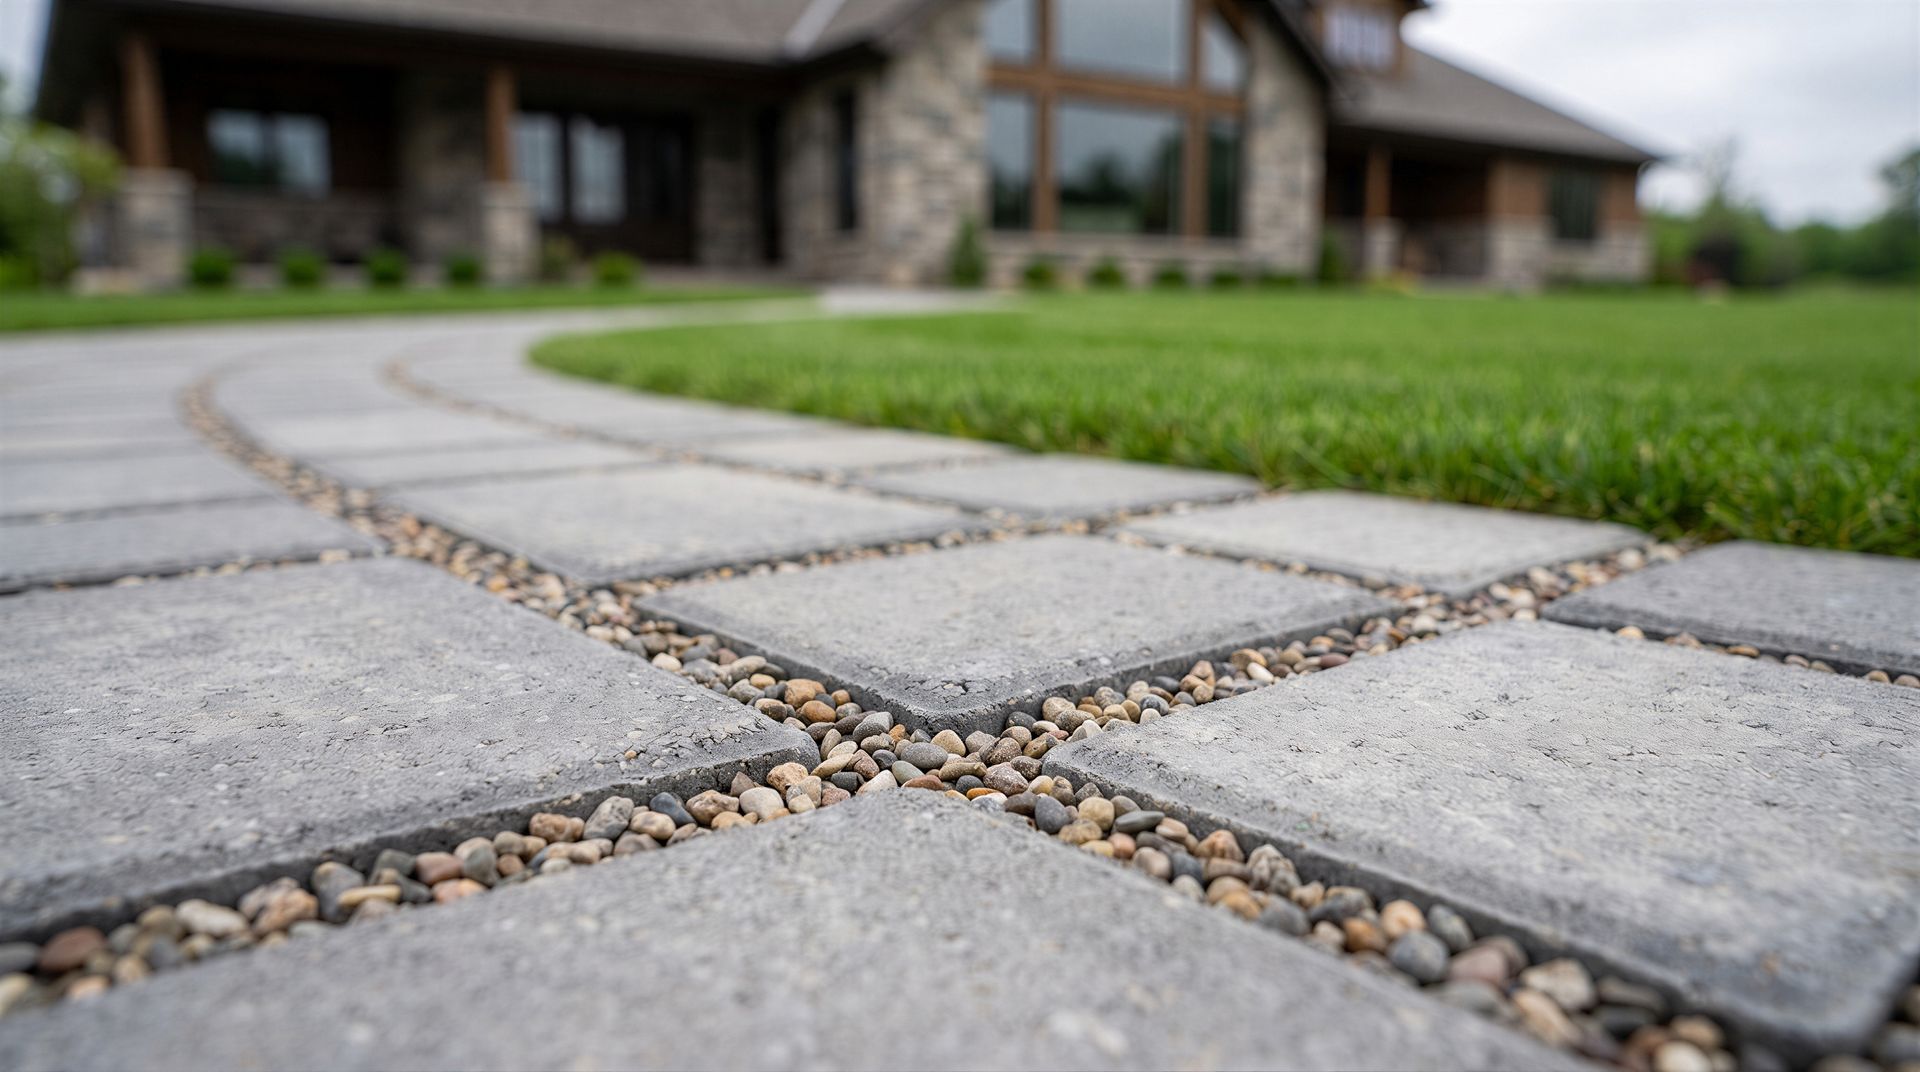
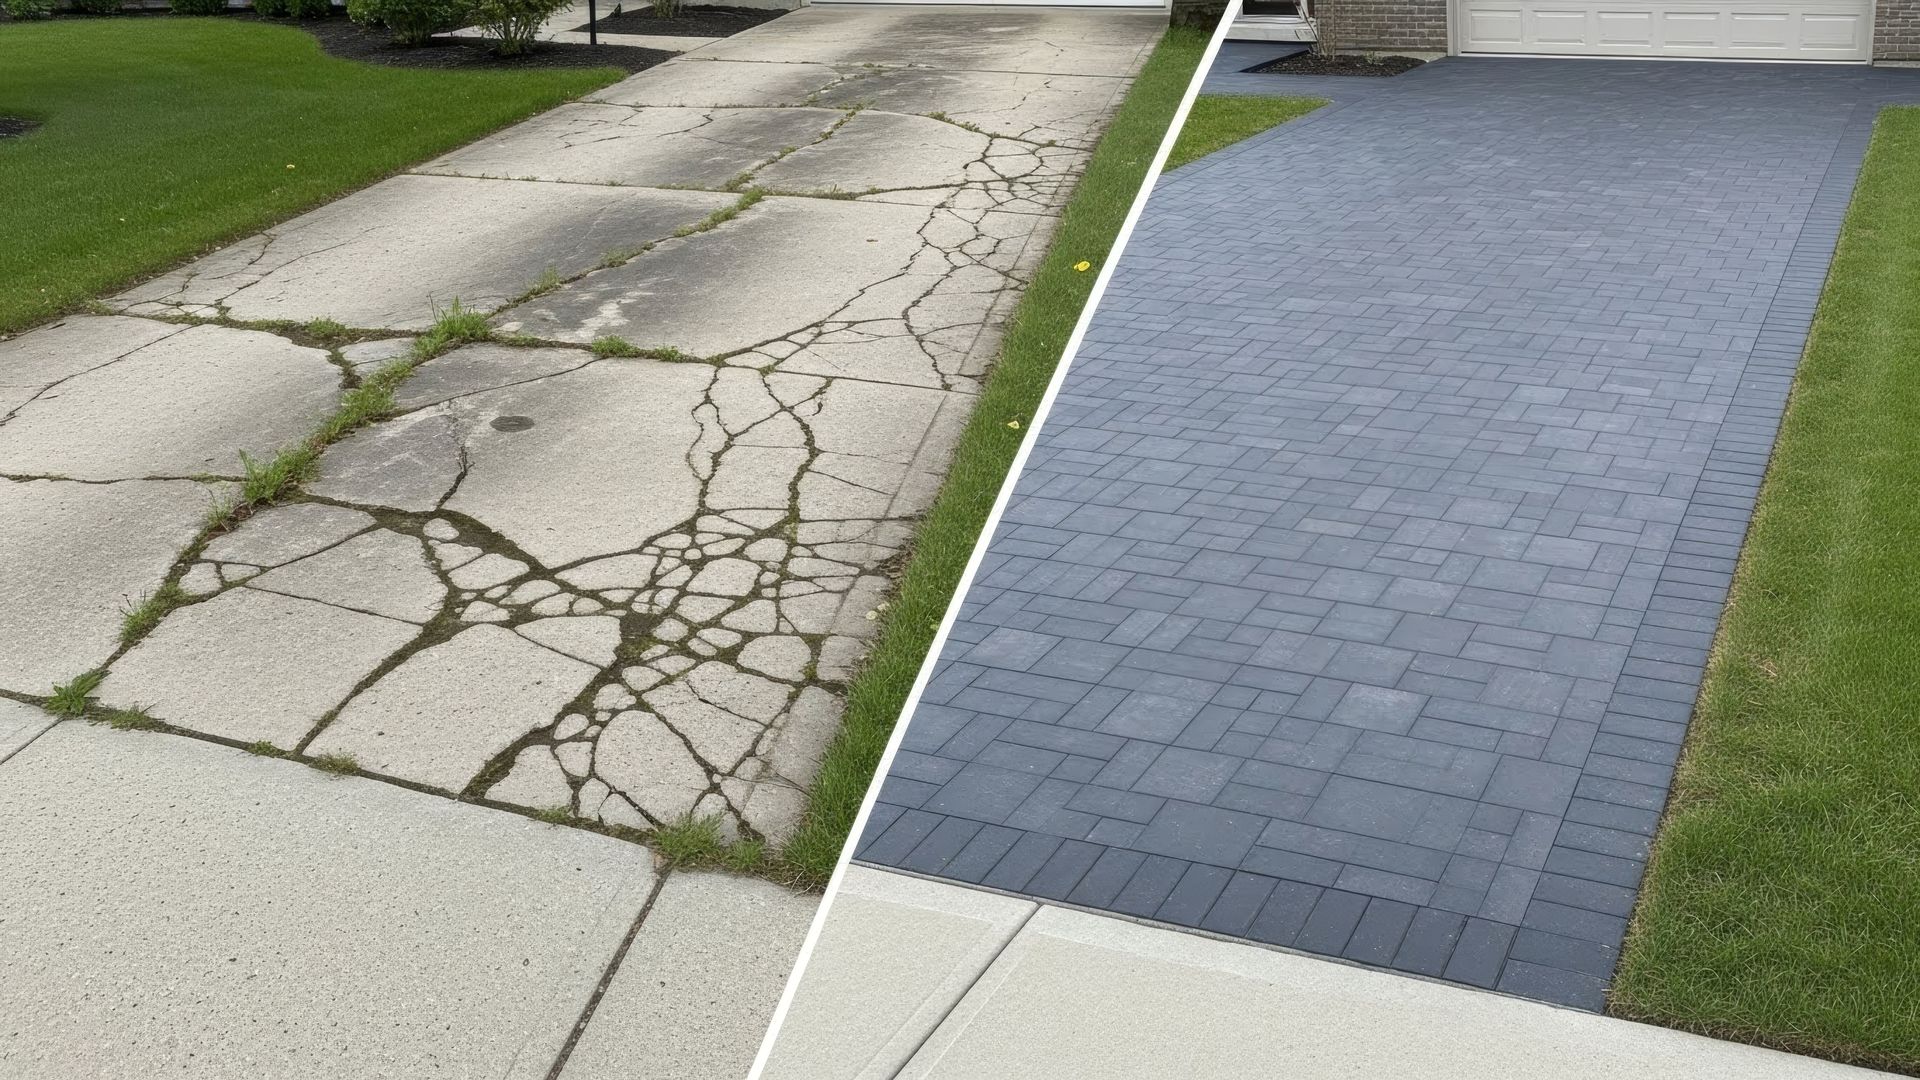
Stamped Walkways: Use stamping mats to create the look of brick, stone, or cobblestone paths. A few rental tools and a simple concrete mix can result in a professional-looking finish.
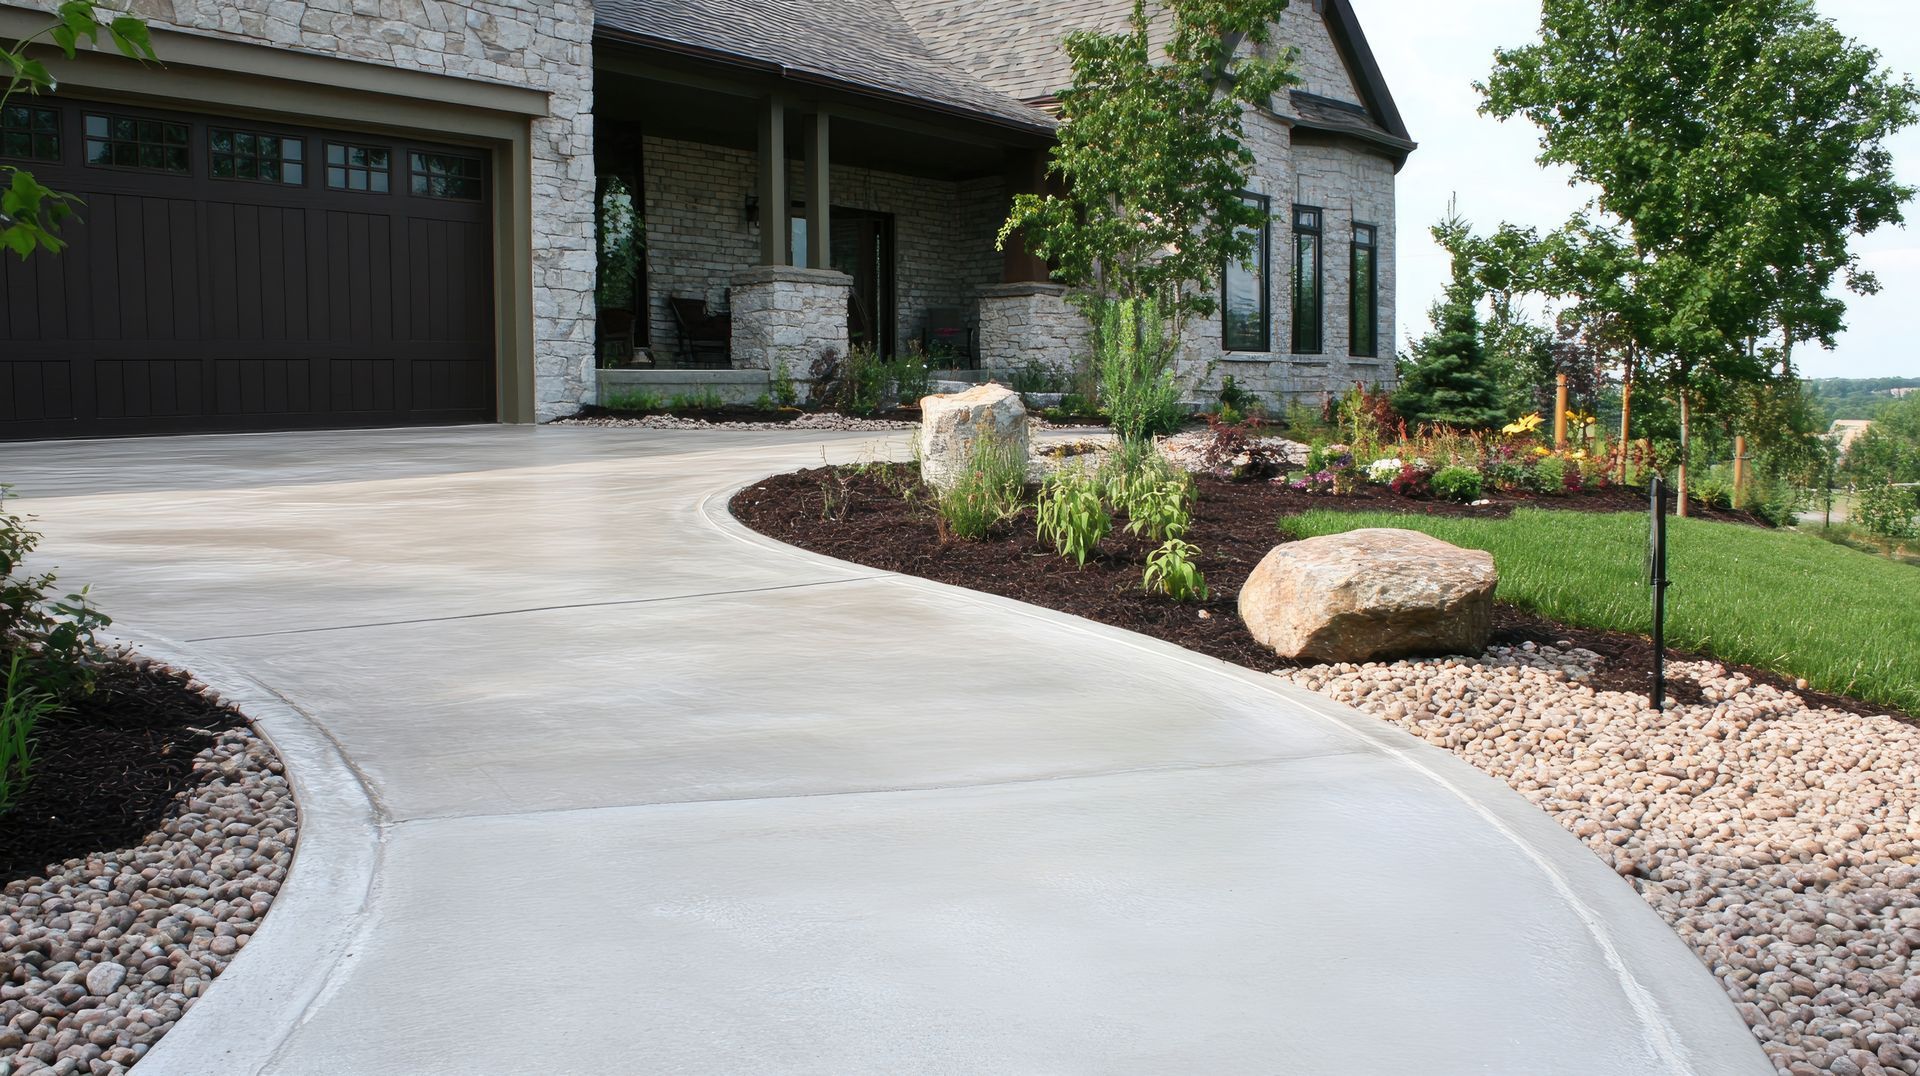
Stained Patios: Add color and depth to your patio by applying acid or water-based stains. Experiment with multiple shades for a marbled or textured appearance.
Concrete Planters: Create custom planters by pouring concrete into molds. Use buckets, cardboard, or plastic containers to shape unique designs.
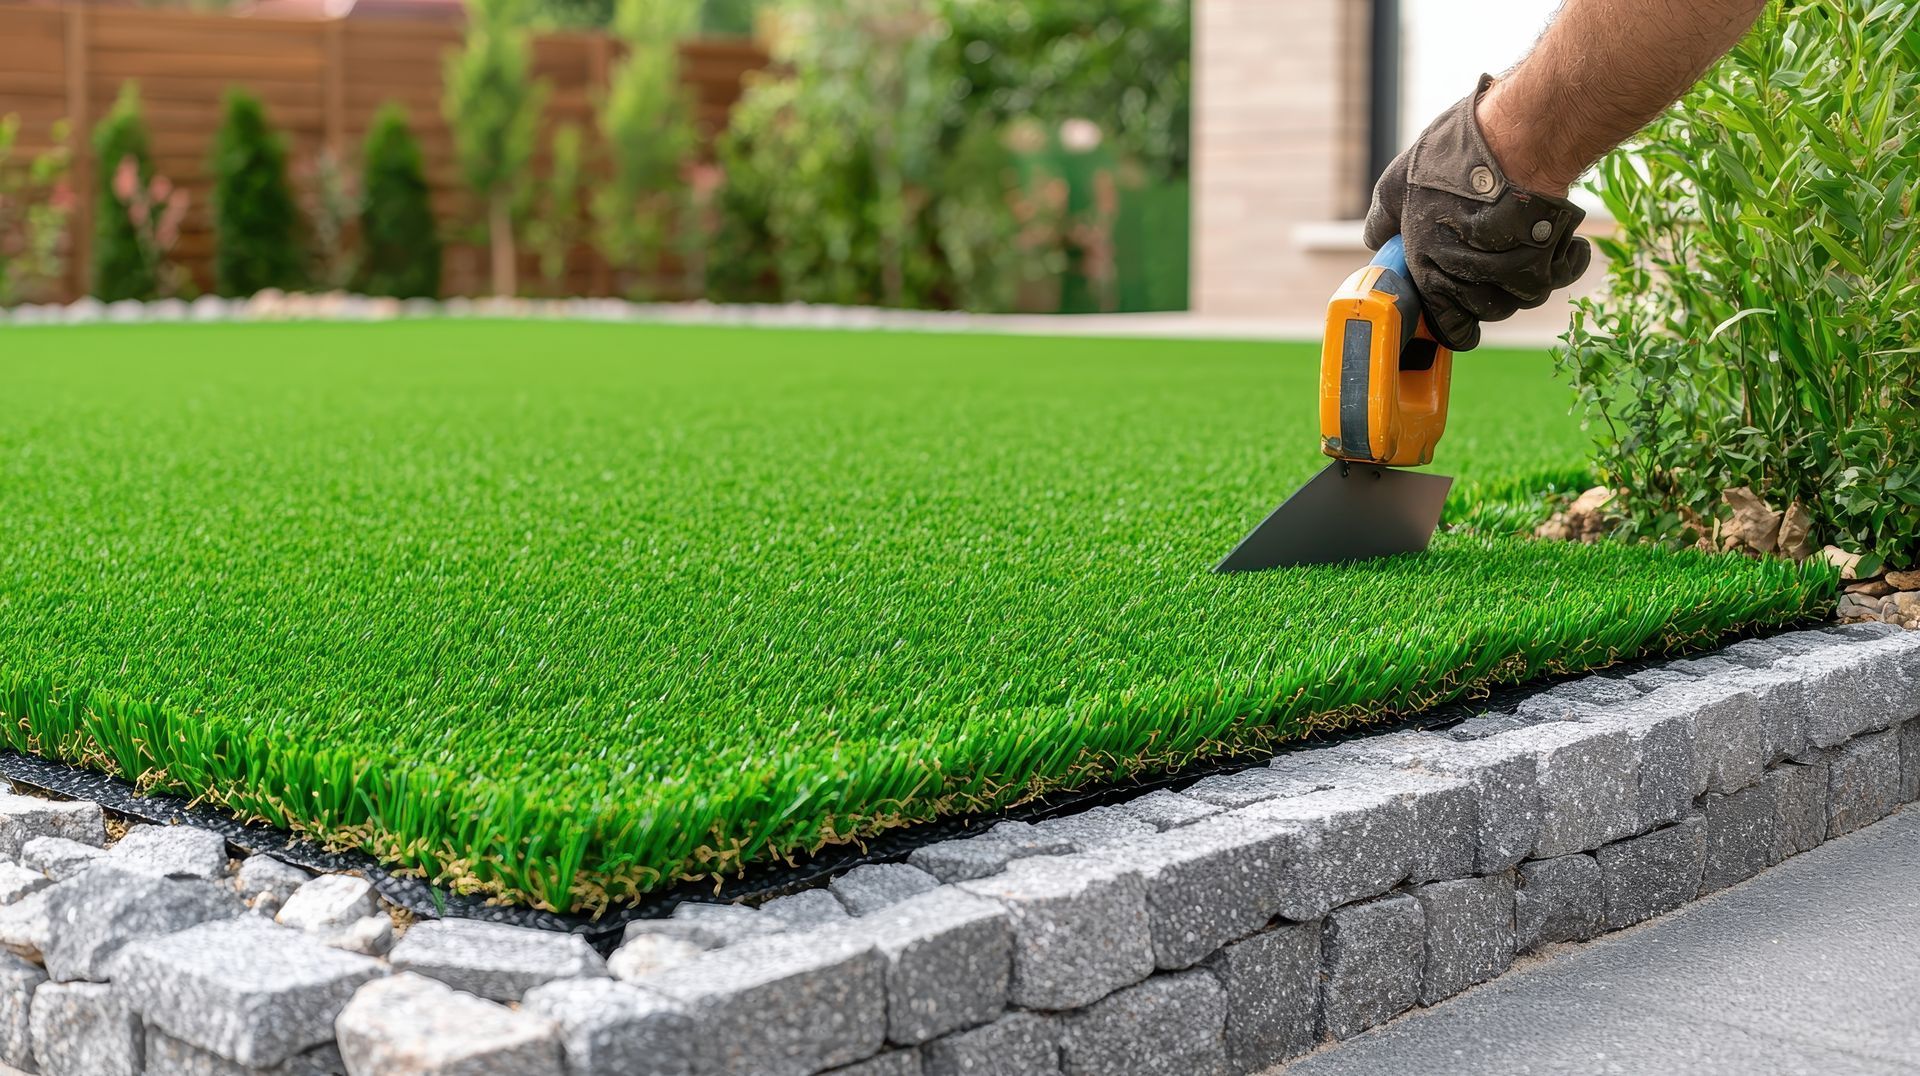
Textured Borders: Edge your garden beds with textured concrete borders, using a trowel to add patterns or create a smooth, polished look.
These ideas combine functionality with aesthetics, giving your yard a polished feel while staying within your DIY budget.
Tools and Materials for DIY Decorative Concrete
Before starting your project, gather the necessary tools and materials to ensure smooth execution. Most of these items are available at local hardware stores or for rent.
What you’ll need:
Concrete Mix: Choose a mix suitable for your project (e.g., quick-set for smaller tasks or all-purpose for larger areas).
Forms and Molds: Use wood, plastic, or rubber molds to shape your concrete into the desired design.
Stamps and Stencils: These are essential for adding patterns and textures to your concrete surface.
Colorants and Stains: Choose from integral color mixes or surface-applied stains to add vibrancy to your project.
Trowels and Finishing Tools: Smooth out surfaces or create custom textures with a variety of hand tools.
Sealer: Protect your decorative concrete from weathering and stains with a high-quality sealant.
With these tools on hand, you’ll be ready to tackle your decorative concrete project like a pro.
Step-by-Step Guide to a DIY Decorative Concrete Project
Here’s a general process for creating decorative concrete elements for your yard:
Plan and Prepare: Decide on the design, gather materials, and clear the work area. Make sure the ground is level and stable.
Build the Form: Use wood or plastic to create a frame for the concrete, ensuring the desired shape and size.
Mix and Pour: Prepare the concrete mix according to instructions and pour it into the form, spreading it evenly with a trowel.
Add Decorative Elements: While the concrete is still wet, apply stamps, stencils, or textures. For stained concrete, let it cure first before applying the color.
Cure Properly: Allow the concrete to cure for the recommended time to ensure durability. Keep it moist to prevent cracking.
Seal the Surface: Once cured, apply a sealant to protect the surface from weather, stains, and wear.
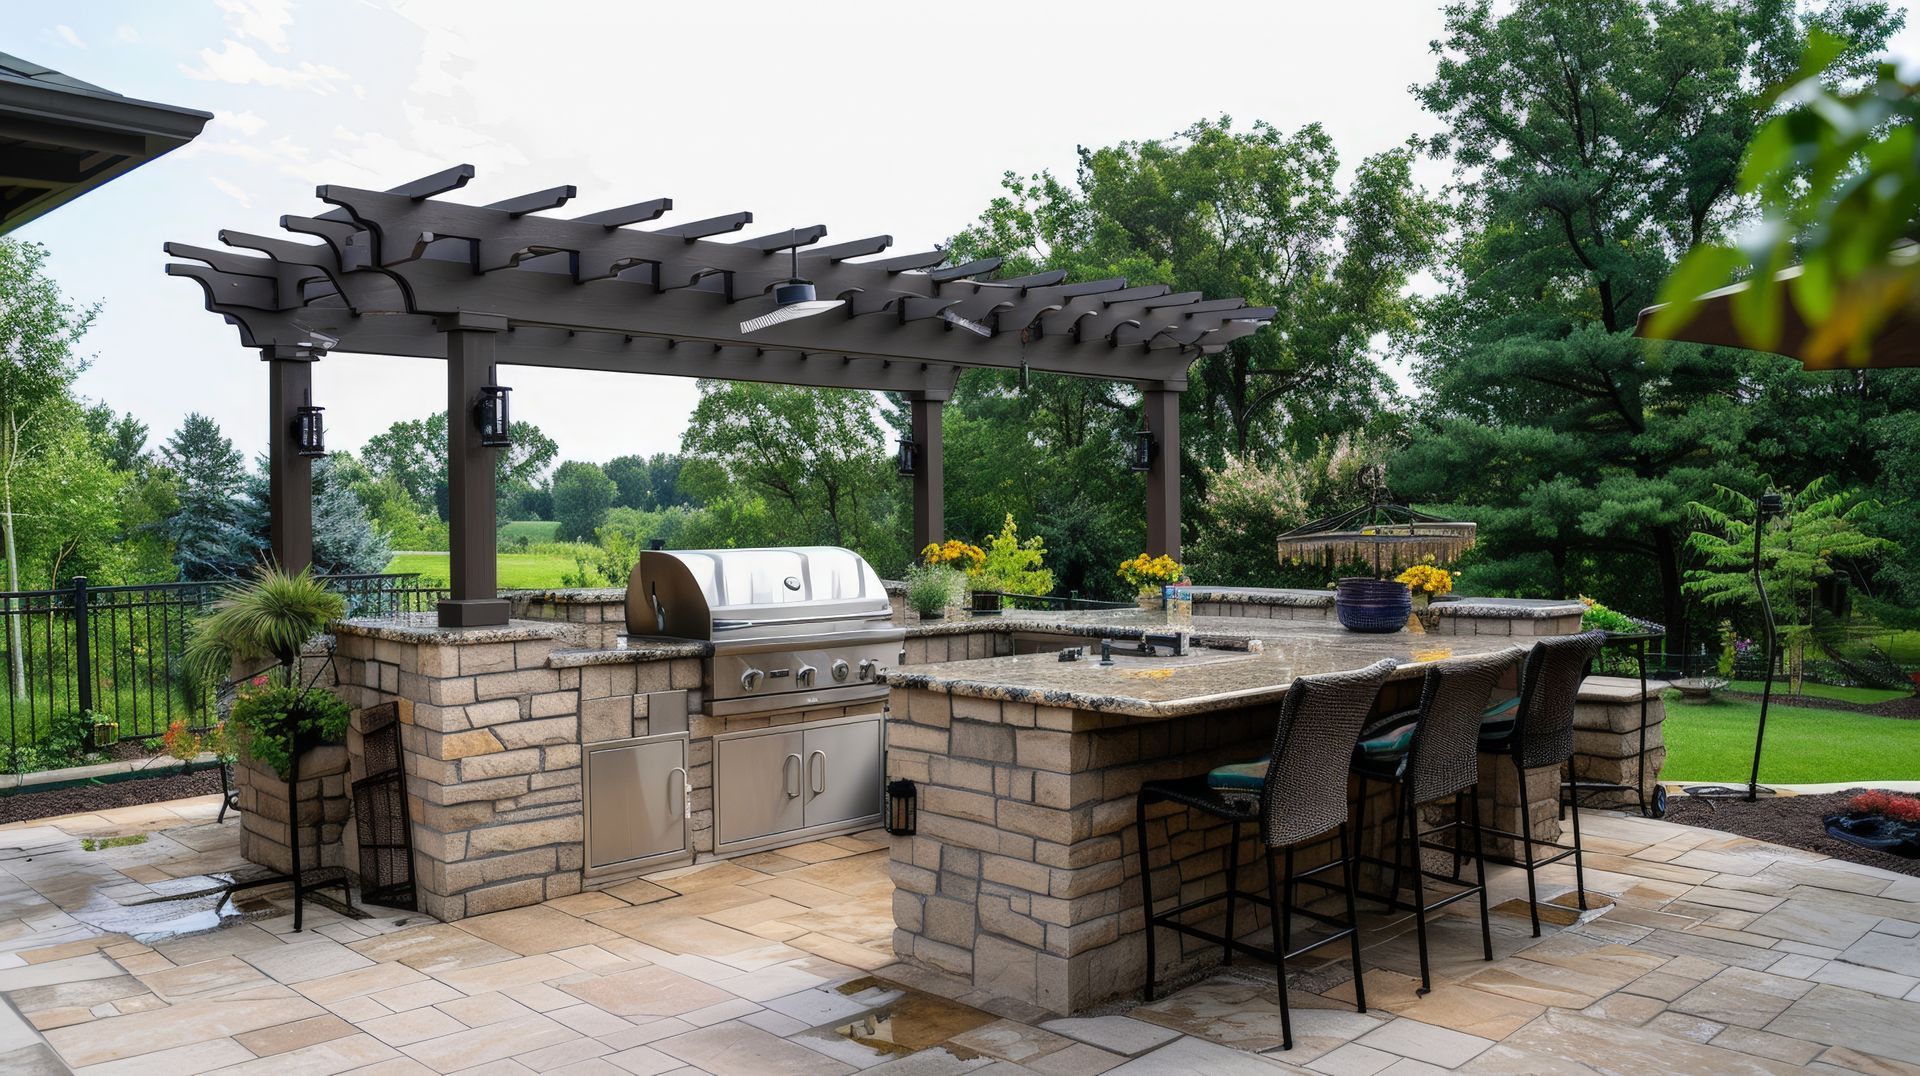
This straightforward process can be adapted to a range of projects, from large patios to small garden accents.
Tips for Success
Decorative concrete projects require some planning and care to achieve professional-looking results.
Keep these tips in mind:
Test Stains or Colors First: Try out stains or colors on a small piece of concrete to ensure the shade matches your vision.
Work Quickly: Concrete sets rapidly, so have all tools ready and work efficiently once the mix is poured.
Mind the Weather: Avoid working in extreme heat or cold to ensure proper curing. Cover the project if rain is expected.
Start Small: If you’re new to decorative concrete, begin with a smaller project to build confidence and refine your technique.
By following these tips, you’ll ensure your project is both manageable and visually impressive.
Affordable Landscaping Made Simple
With decorative concrete, you can create beautiful, functional outdoor spaces on a budget. From stamped walkways to colorful patios, DIY concrete projects allow you to customize your yard while saving money and adding value to your home.
Ready to get started? Head to your local hardware store, gather your materials, and begin transforming your outdoor space with affordable decorative concrete. Whether you’re sprucing up your garden or building a stunning patio, the possibilities are endless with a little creativity and effort!